How to guides
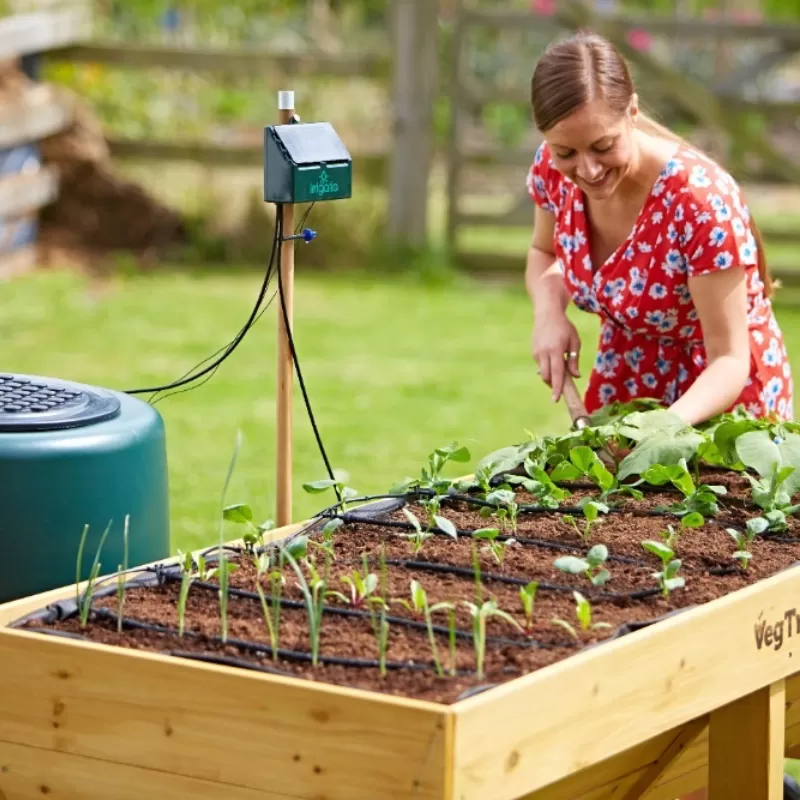
Set up C12L and C24L
Find out more about starting stored C12L or C24L controllers – this includes new models that have been purchased recentlyFirst time setup
Step 1
Drill a 6mm hole in water butt lid, thread the inlet tube through, push filter on to end, adjust length of tube so filter hangs 10cm off bottom.
Take other end to pump, ensure there is some slack, cut clean and square and push onto inlet marked "I" so that tube is straight and does not pull.
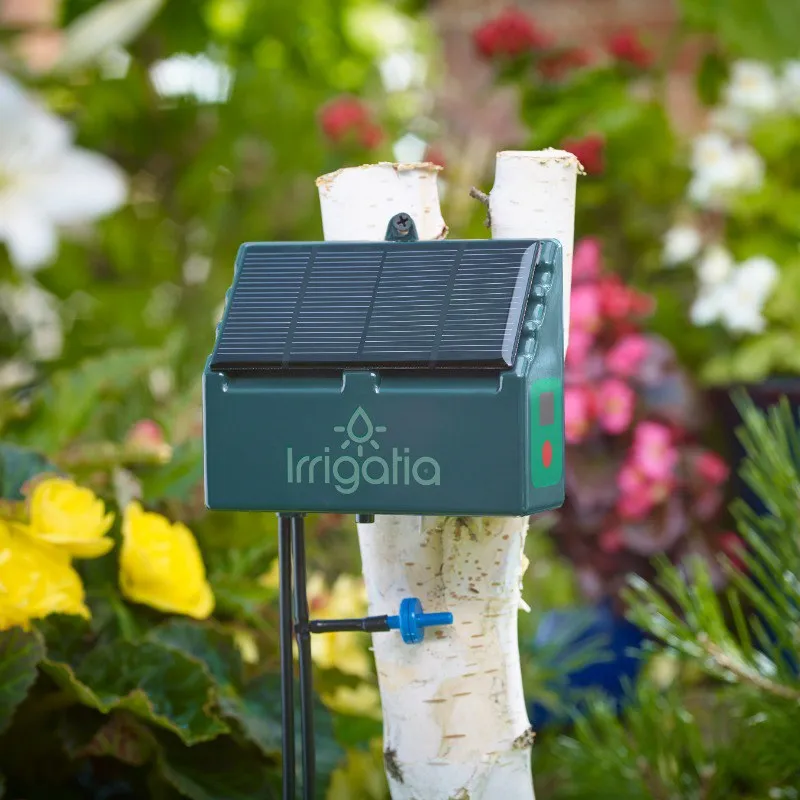
For the "C" series models you also need to attach the water level sensor to the tube just above inlet filter and immerse it in the water. This will detect if the water barrel has run dry and will emit an audible warning. It also switches the unit off. This is supplied with 5m of cable - if you wish to mount the control unit further away from the water butt either:
- Immerse the sensor in a jar full of water or
- Remove the back of the case, detach the sensor cable from the circuit board and replace it with the jumper which is attached inside the case back.
Step 2
Starting at far end from pump and working back screw/push drippers onto tube, stake into position, cut tube and screw on tee where next dripper is needed, add piece of tube, dripper and stake.
Step 3
Repeat until all the drippers are in place, routing the tube inconspicuously and clipping into place as you go.
Step 4
Ensuring a clean square cut and leaving some slack, cut tube and push onto pump outlet marked "O". All connections to pump must be straight and should not pull against the pump. Support tube if necessary with clips.
Step 5
Turn pump on to number 3. The first time you turn it on, how long the pump runs is dependent on how much charge is left in the batteries, if fully charged this could be hours. After discharging a couple of times the control should return to normal. Then monitor, if watering too little turn it up, too little turn it down. Allow it 24 hours to settle. If it then waters too much turn it down, too little turn it up.
Set Up
Solar Pump Control
The pump starts automatically every 3 hours and runs until the battery voltage starts to drop.
- Knob position 5 is maximum watering
- Knob position 4, 3, 2, 1 are approximately 80%, 60%, 40%, 20% respectively.
- The knob regulates the proportion of energy that goes from the solar panel to the battery.
- Constant LED indicates pump is running
- Flashing LED indicates unit is in charging mode
If you double the number of drippers on a pump, you will halve the amount of water emitted by each dripper.
Solar Pump - Technical Information
- Maximum Lift - drips 5m above water source
- Maximum Pump Height - 3m above water source
- Maximum Pump Distance - 20m from water source
- Maximum Tube Run - 60m from water source to furthest dripper. The pump can be anywhere up to 20m from the water source within that run
- Water dispensed - 7500 ml/h running time - 625ml/dripper
- Run time - up to 1 hour in very sunny conditions. It varies considerably depending on the weather.
- The pump will work in a greenhouse, but will pump slightly less water due to there being less light than outside.
The first time you turn it on - The battery may be fully charged or flat. If fully charged , the pump may run for hours - once it has stopped it will begin to operate normally. If the battery is flat it will not start - turn the knob to 5 and leave in the sun for 3 hours when it will start up automatically. Thereafter it will operate normally.
Dripper heights
If drippers are at different heights they will apply different amounts of water.
With the Solar Pump using 12 drippers these differences are small if drippers are within 2m of the same height. If extra drippers are added, the tolerance of height difference reduces so that at 36 drippers (not recommended) all must be at the same height.
Set Up
PCB Connections
- 1. Connects to the pump
- 2. Connects to the water level sensor alarm - unplug if you do not want the alarm to sound
- 3. Connects to the battery holder
- 4. Connects to the solar panel
- 5. Connects to the water level sensor
- 6. Connects to the optional moisture level sensor